Keeping your Wisper e-bike battery fully charged ensures optimal range and performance. Follow these simple steps to safely and effectively charge your Wisper rack-mounted battery.
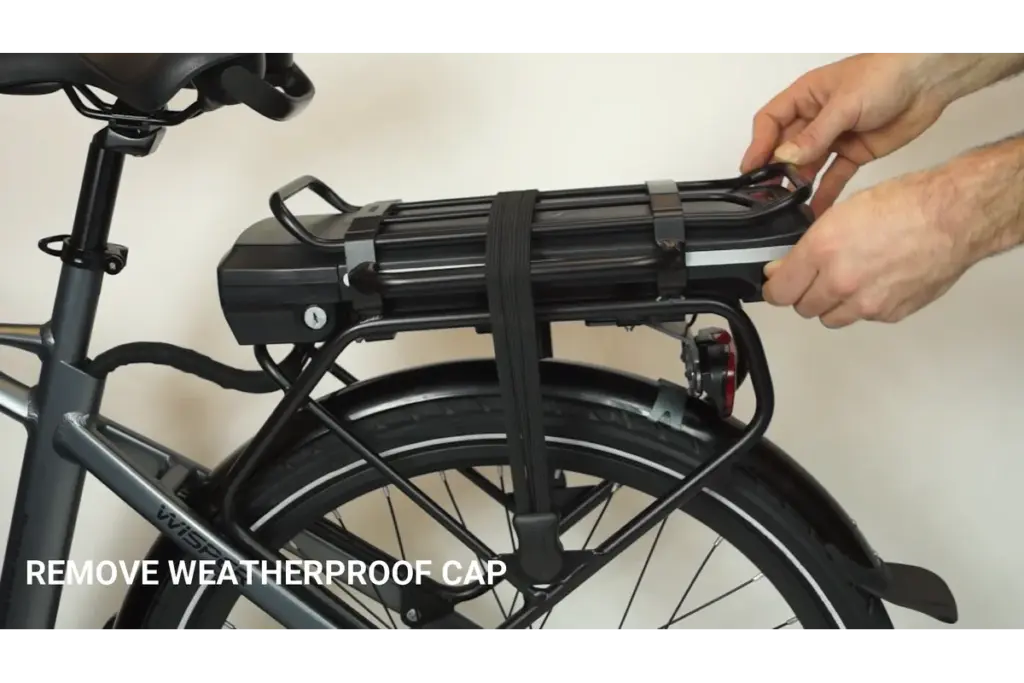
Before charging, remove the weatherproof cap from the battery’s charging port. This cap protects your battery from dust and moisture — keep it somewhere safe while charging.
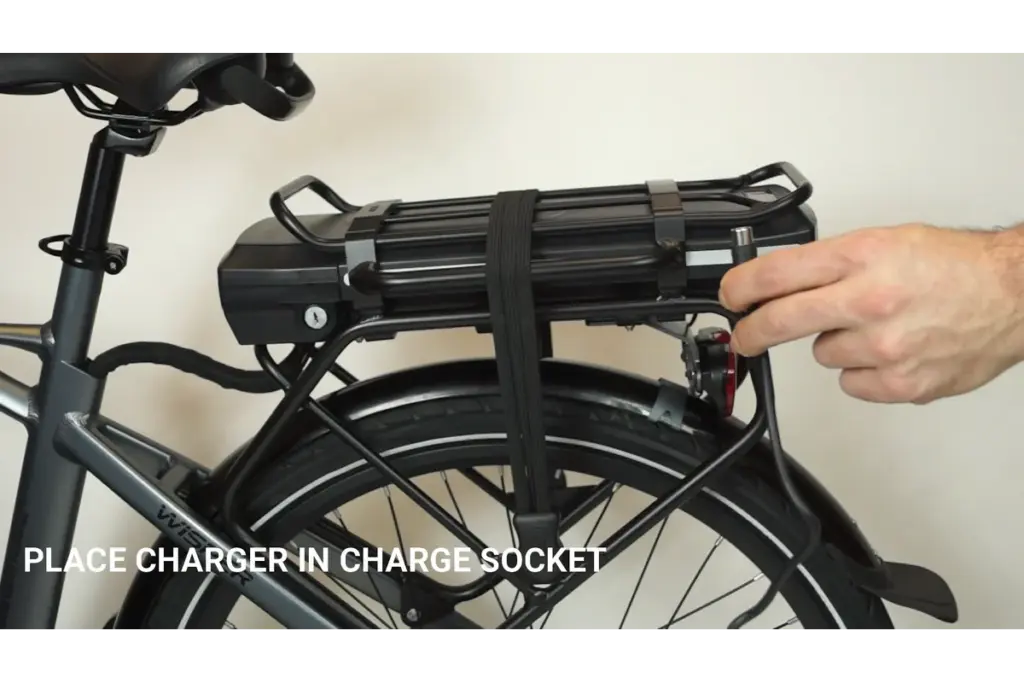
Insert the charger connector into the battery’s charging socket. Ensure the plug is firmly seated to establish a good electrical connection.
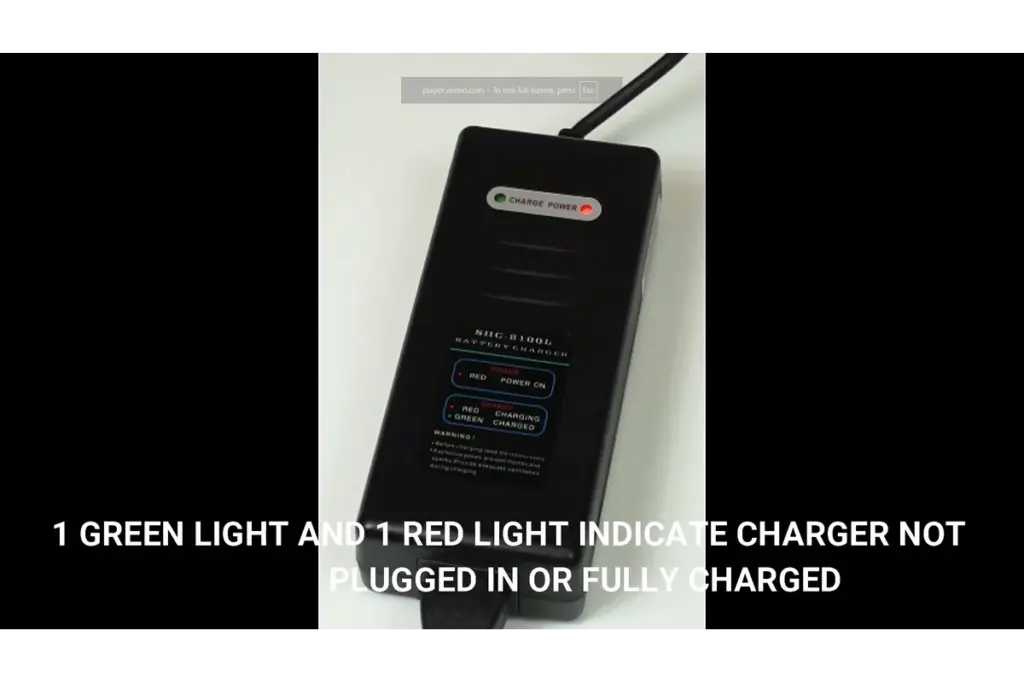
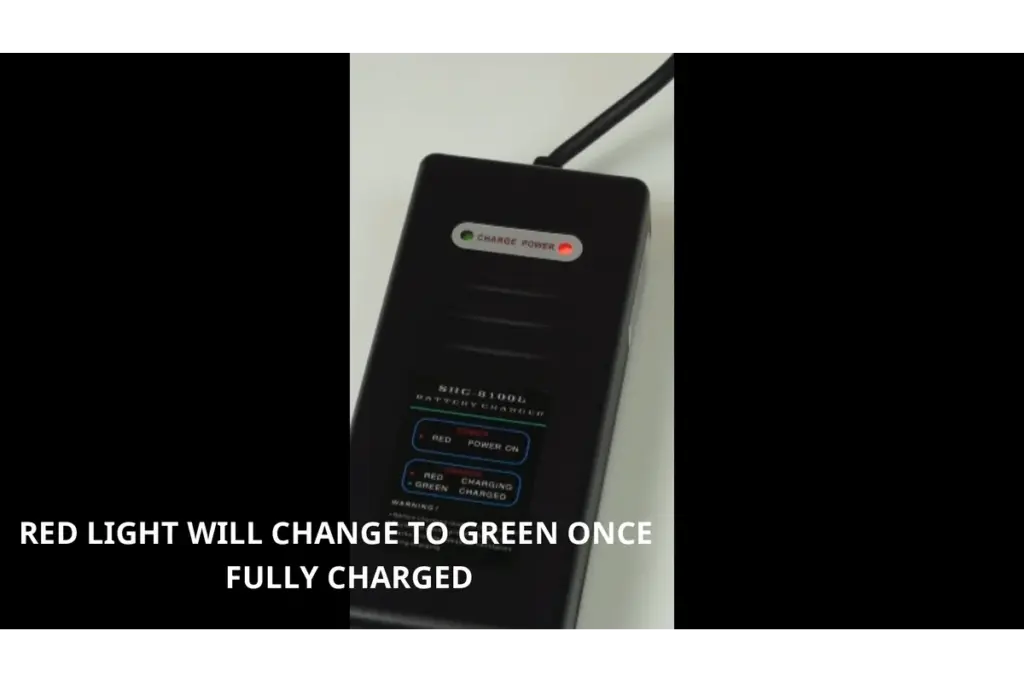
When connected, the charger will show one red light and one green light.
This indicates that the charger is powered on, but charging has not yet started.
If both lights remain steady, double-check that the charger plug is fully inserted into the battery.
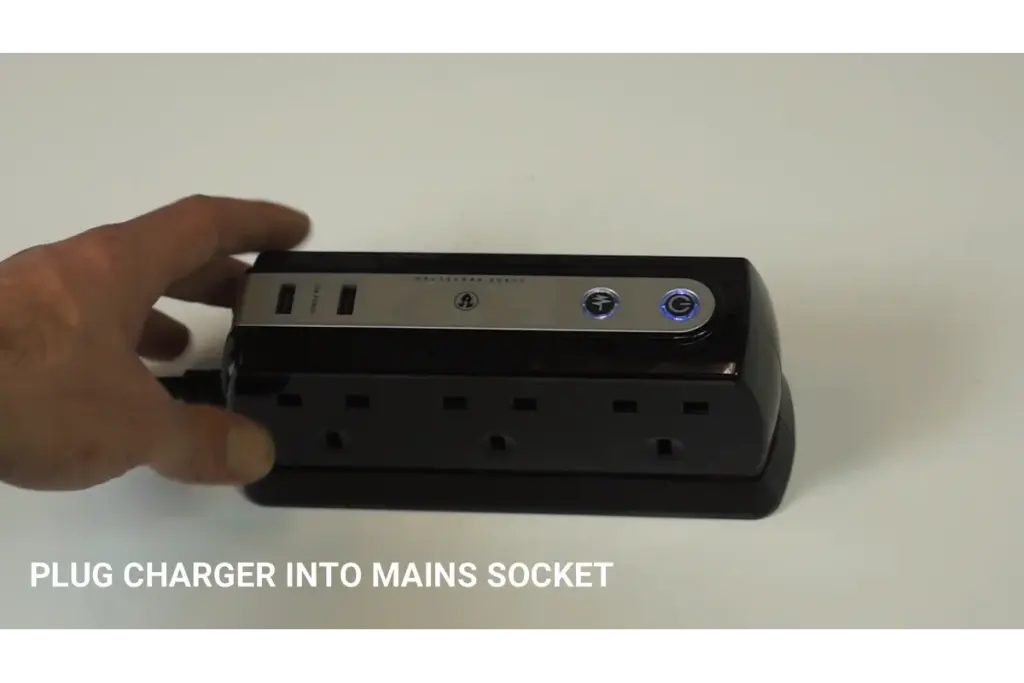
Once the charger is connected to the battery, plug the charger power cable into a mains socket (standard wall outlet). The red light should stay on while charging is in progress.
While charging, the red indicator light will stay illuminated. Charging times vary depending on the battery capacity and remaining charge level (see step 7 below).
When the battery is fully charged, the red light will change to green. This means charging is complete and it’s safe to unplug the charger.
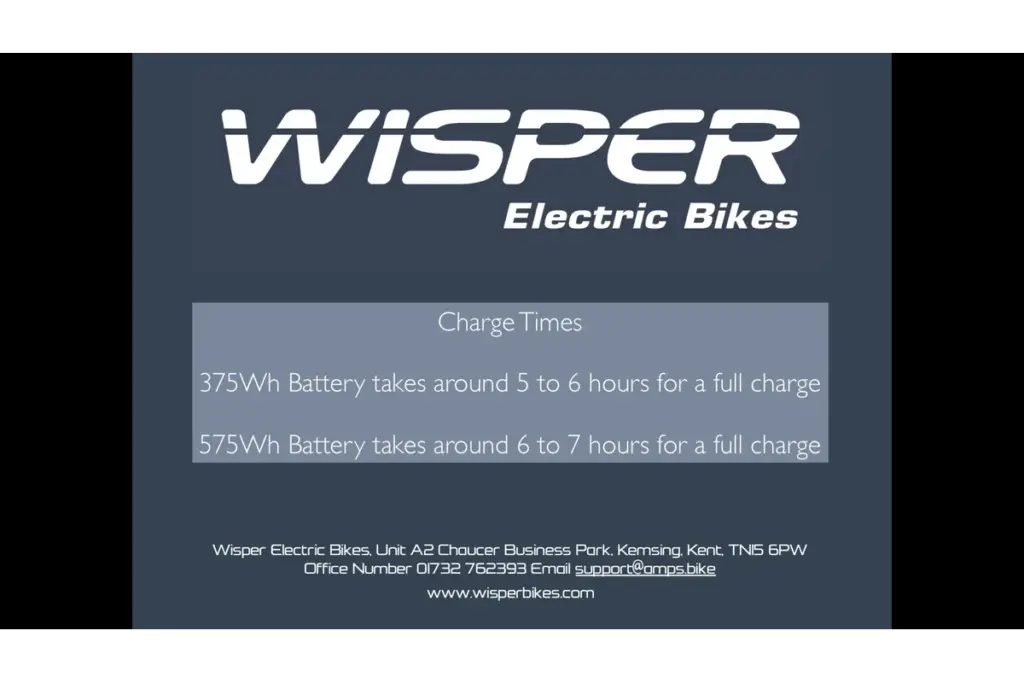
Typical charging times:
Half charge: around 2–3 hours
Full charge: around 4–6 hours depending on battery model and size
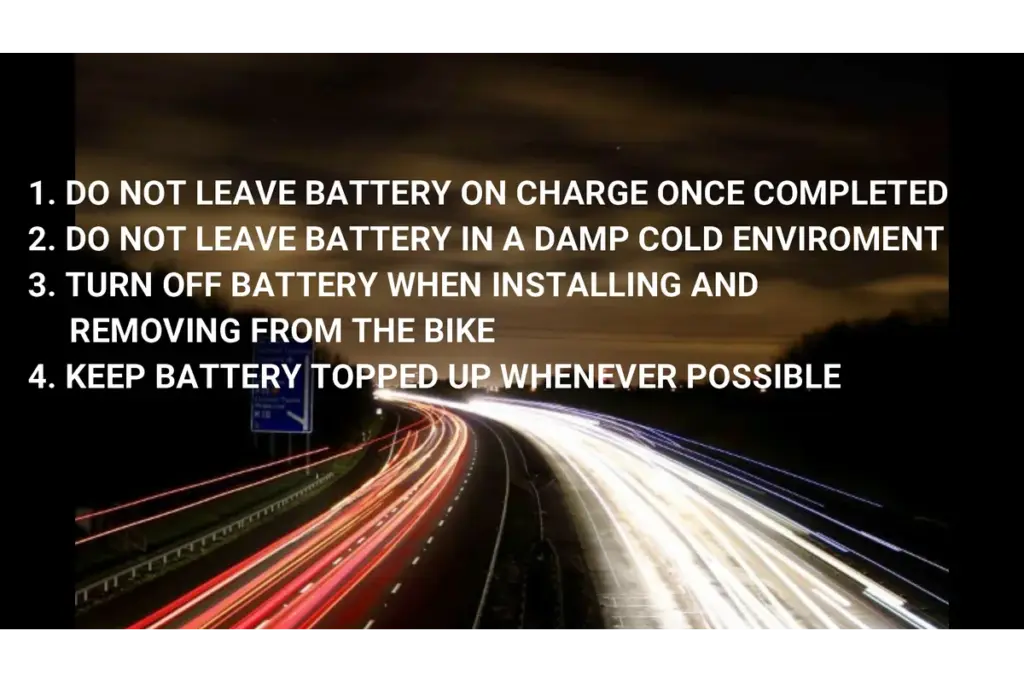
Avoid leaving your battery connected to the charger for extended periods once charging is complete.
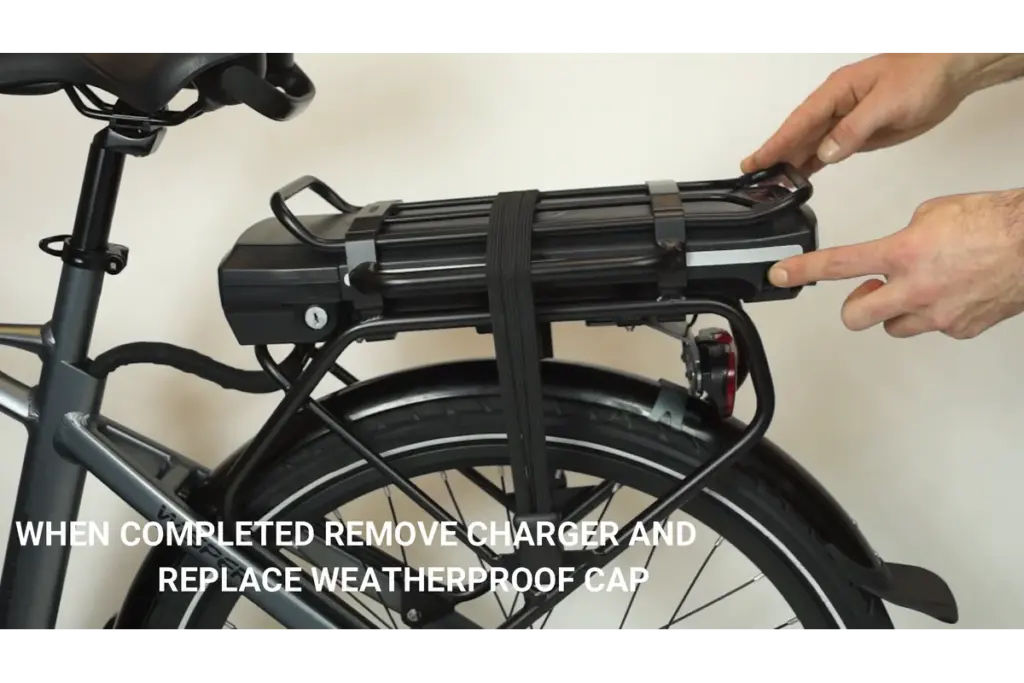
Unplug the charger from the mains socket first, then from the battery.
Once disconnected, replace the weatherproof cap securely to protect the charging port.
Always charge your Wisper battery indoors in a dry, well-ventilated area.
Use only the official Wisper charger supplied with your bike.
Do not cover the charger or battery during charging.
Keep away from flammable materials and direct sunlight.
Never attempt to charge a damaged or wet battery.
Charging your Wisper Rack Battery is quick, easy, and safe when done correctly. Follow these steps each time to maintain battery health, maximise performance, and ensure a longer lifespan for your e-bike.